> ## Documentation Index
> Fetch the complete documentation index at: https://docs.prophecy.ai/llms.txt
> Use this file to discover all available pages before exploring further.
# Create an Azure Synapse fabric
> Set up an Azure Synapse fabric
Available for [Enterprise Edition](/data-engineering/administration/platform/editions) only.
In the context of Spark execution engines, users have the flexibility to opt for Azure Synapse Analytics while utilizing Prophecy. Use this step-by-step guide on creating a fabric to connect to the Azure Synapse Workspace via Livy.
Feel free to explore the following sections to gain insights into the integration of Azure Synapse Analytics with Prophecy.
## An existing Azure Synapse Analytics environment
A properly configured Azure Synapse Analytics environment is required before configuring a Synapse fabric on Prophecy. Prophecy configurations include the following:
1. A Synapse workspace with proper security configured. If you don't have an existing workspace, you may deploy one from the [Azure Marketplace](https://azuremarketplace.microsoft.com/en-us/marketplace/apps/microsoft.synapse?tab=overview).
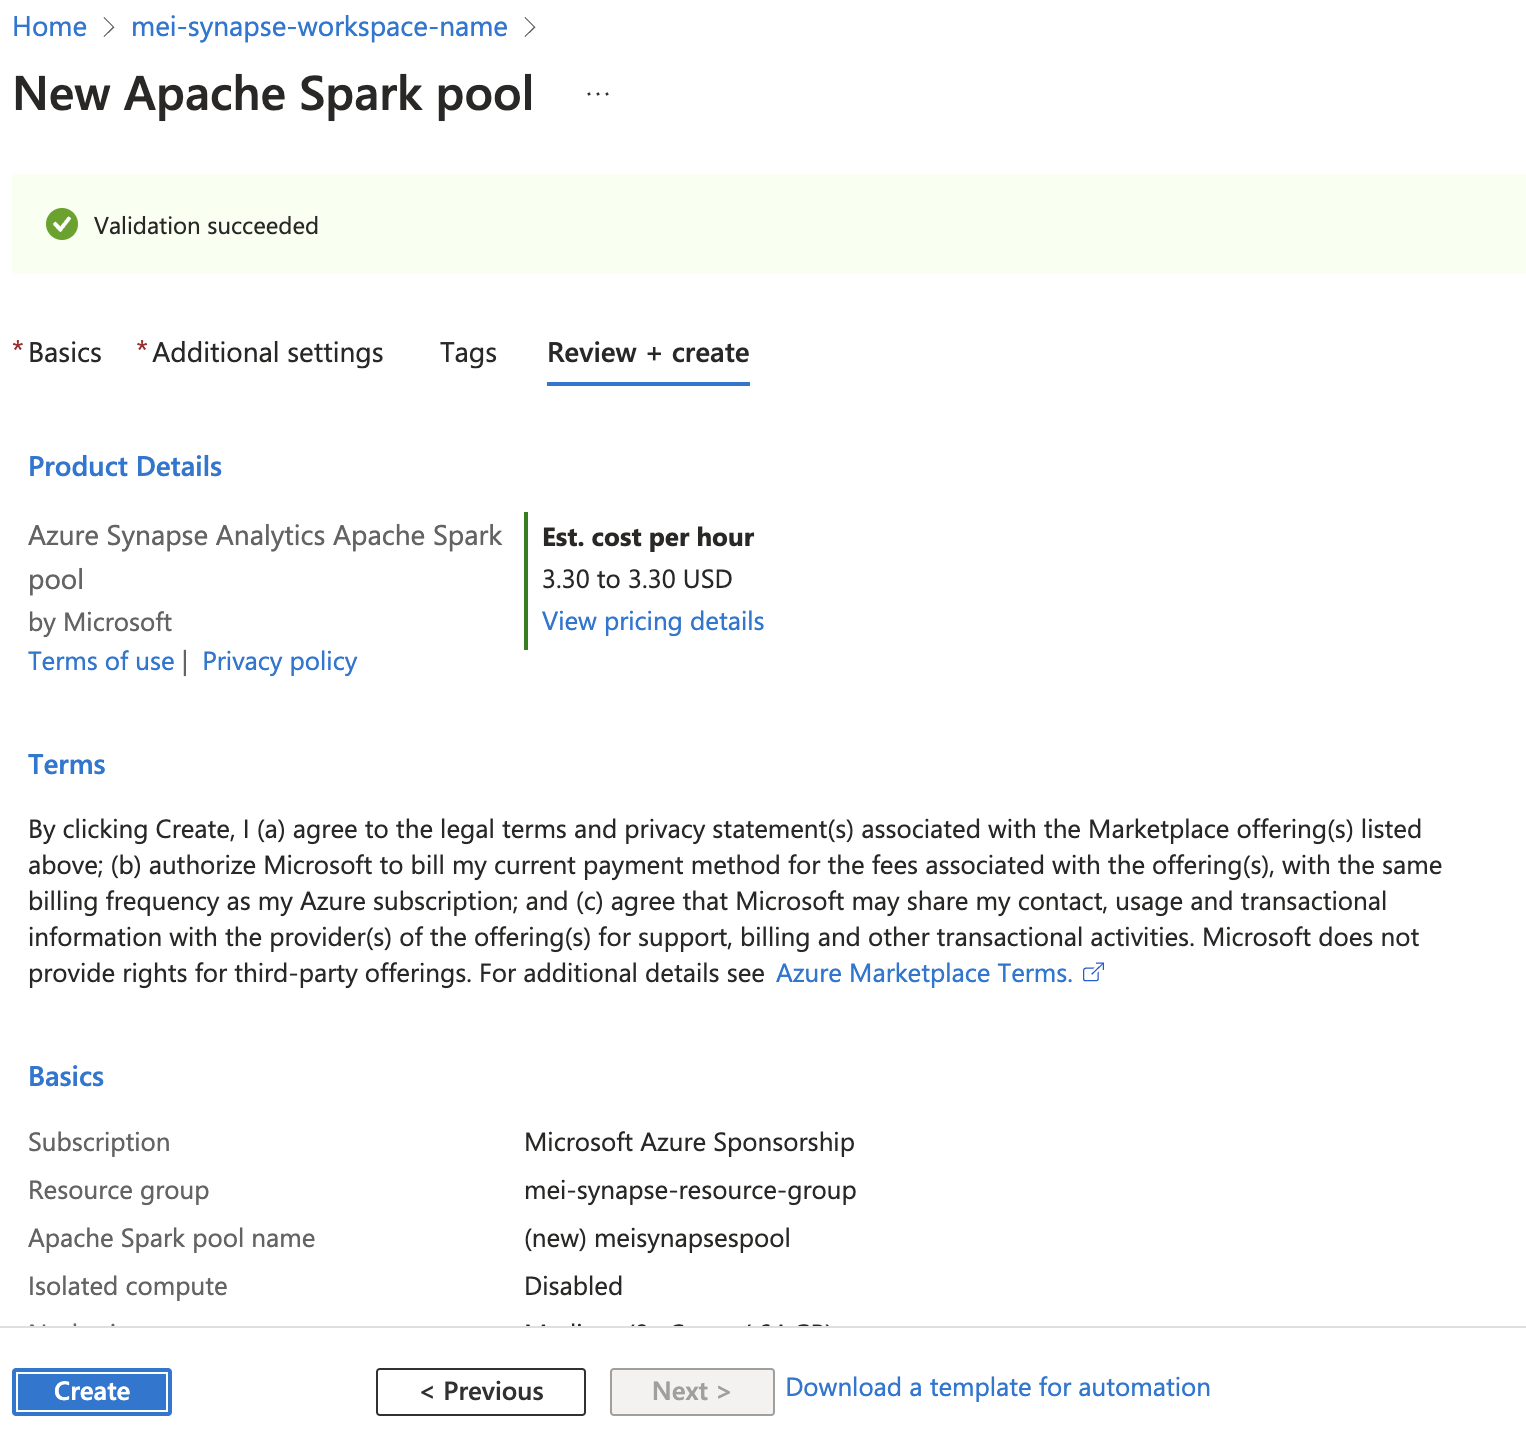
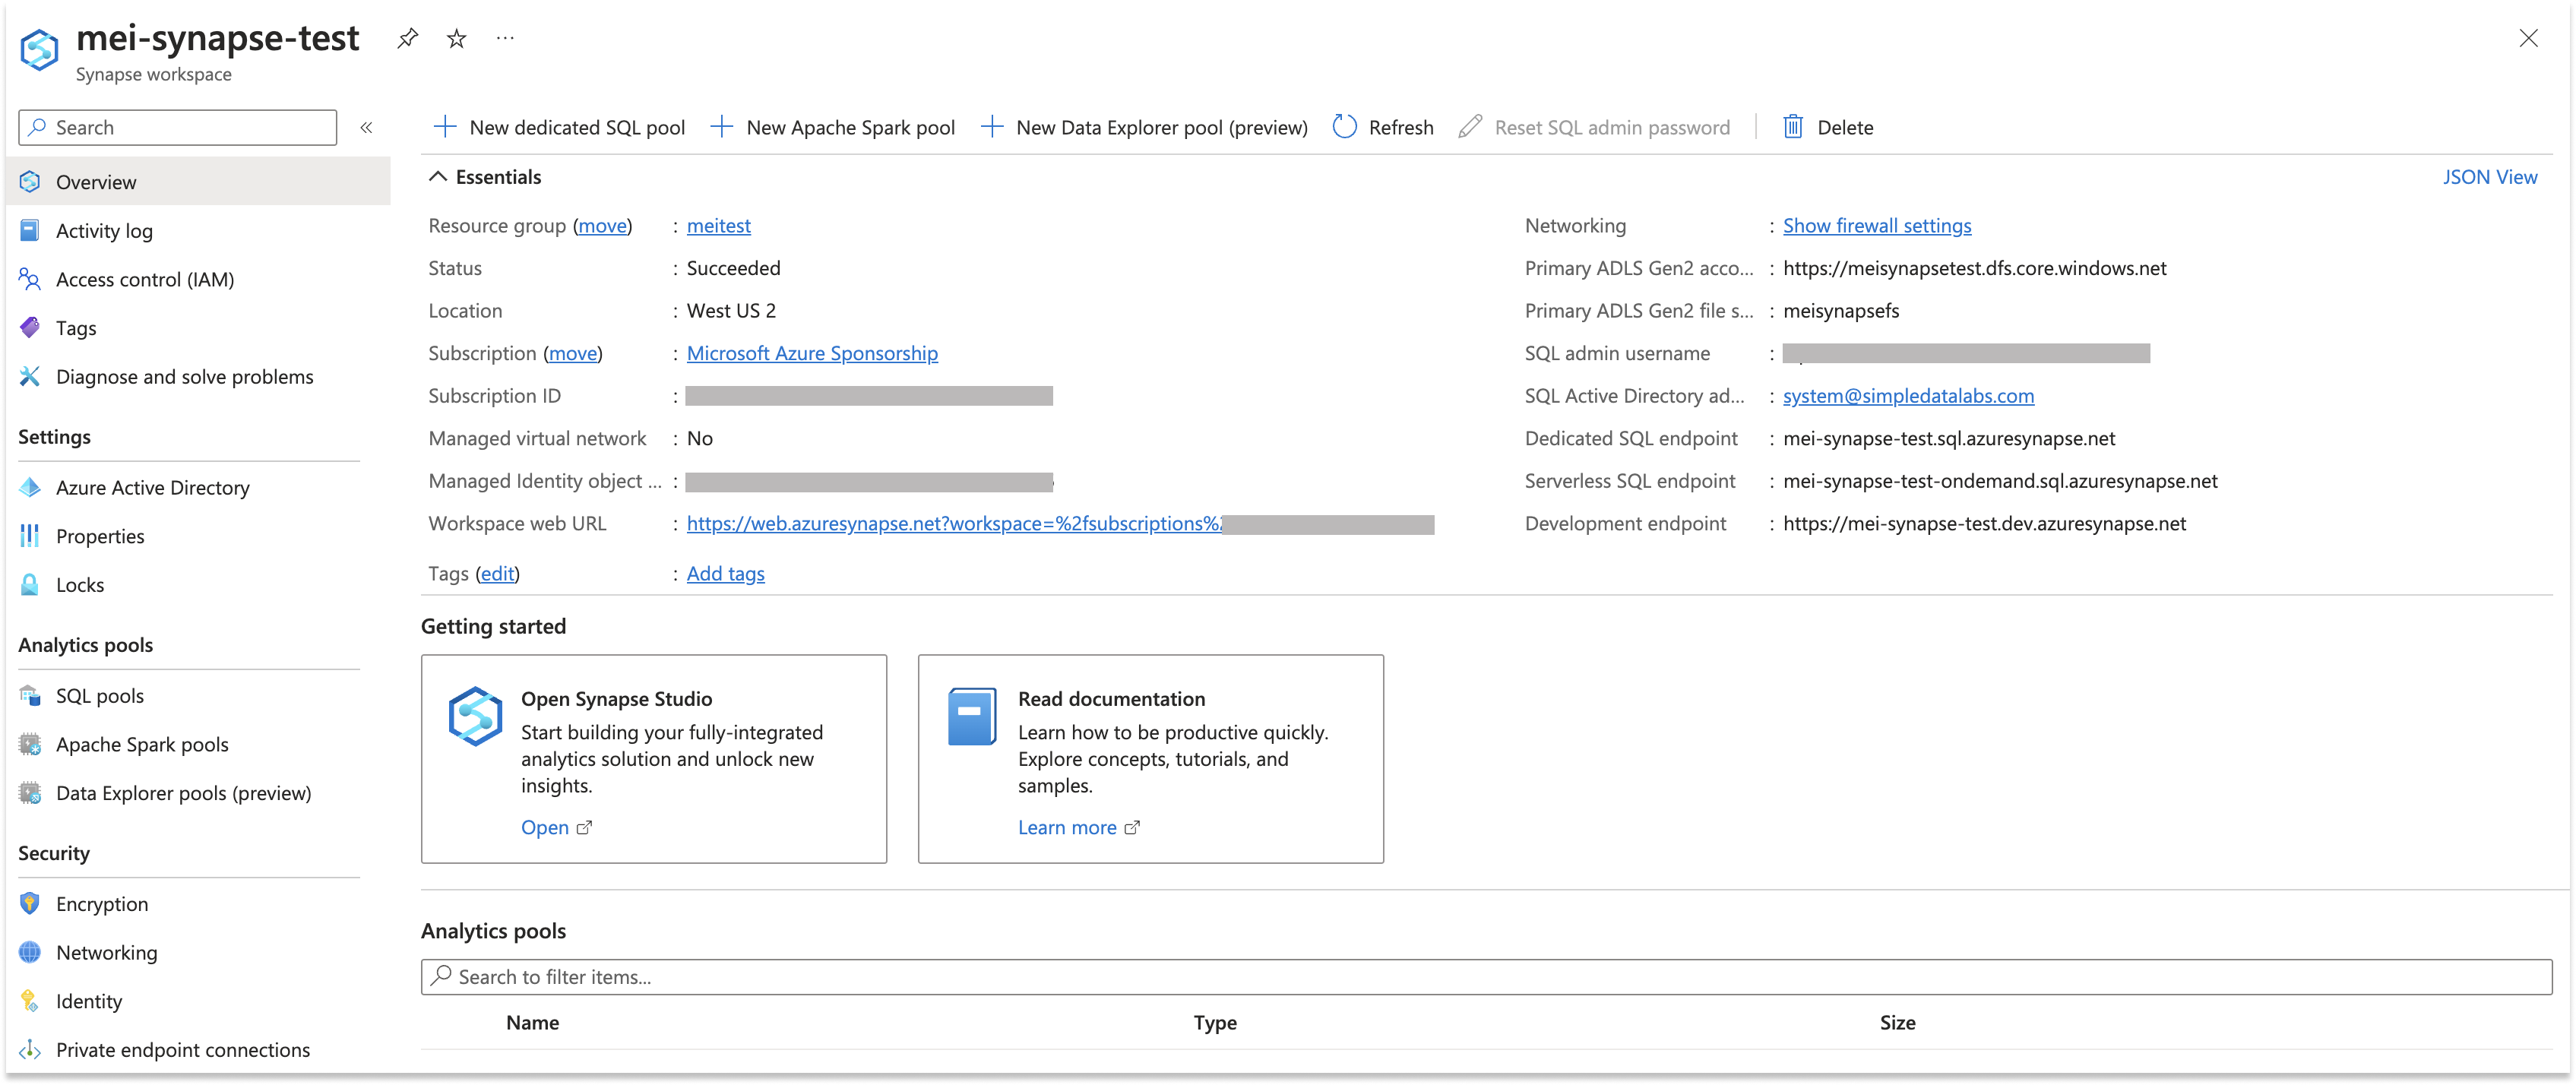 2. Deploy a Synapse Spark Pool if one doesn't already exist.
 3. Make sure the Application is registered.
 4. Create a secret for your Application.
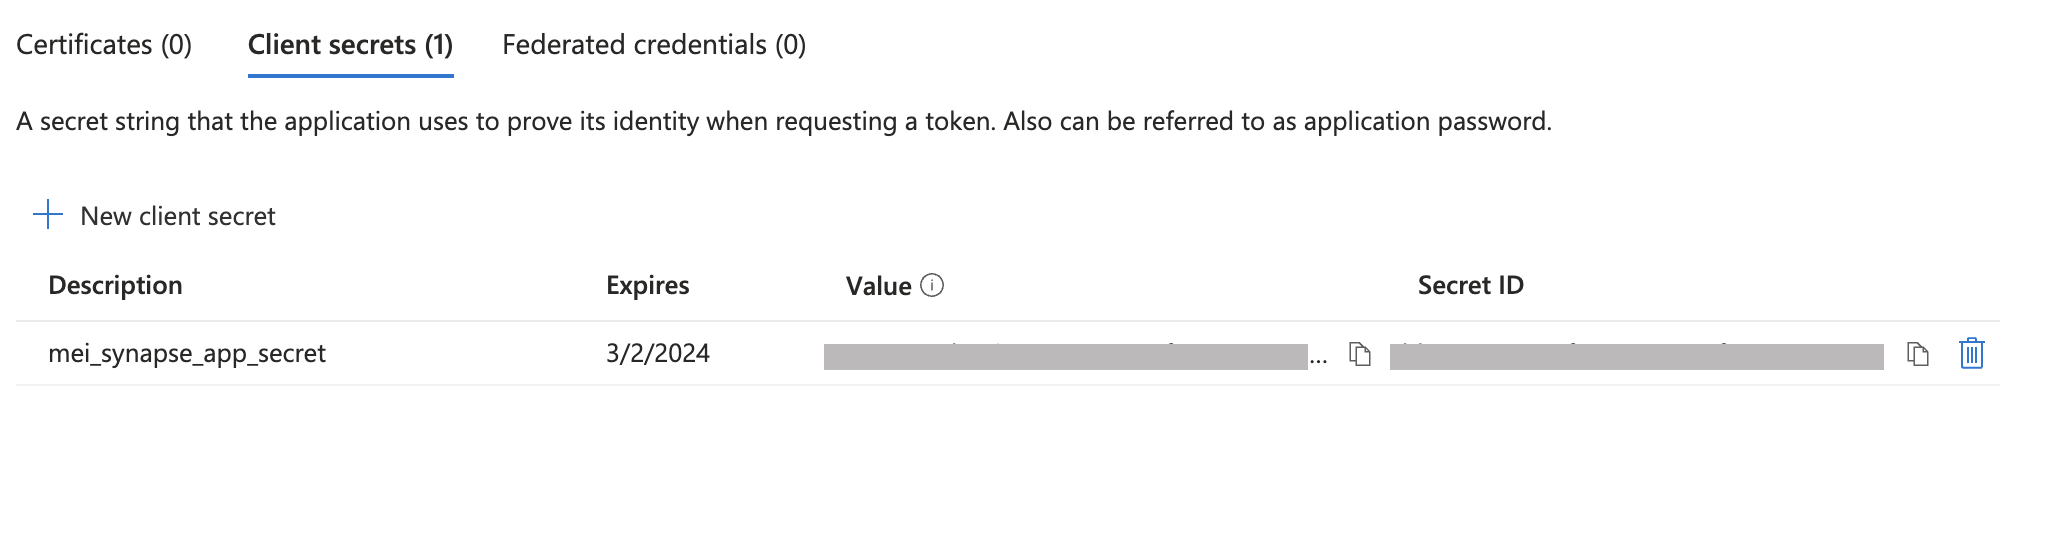
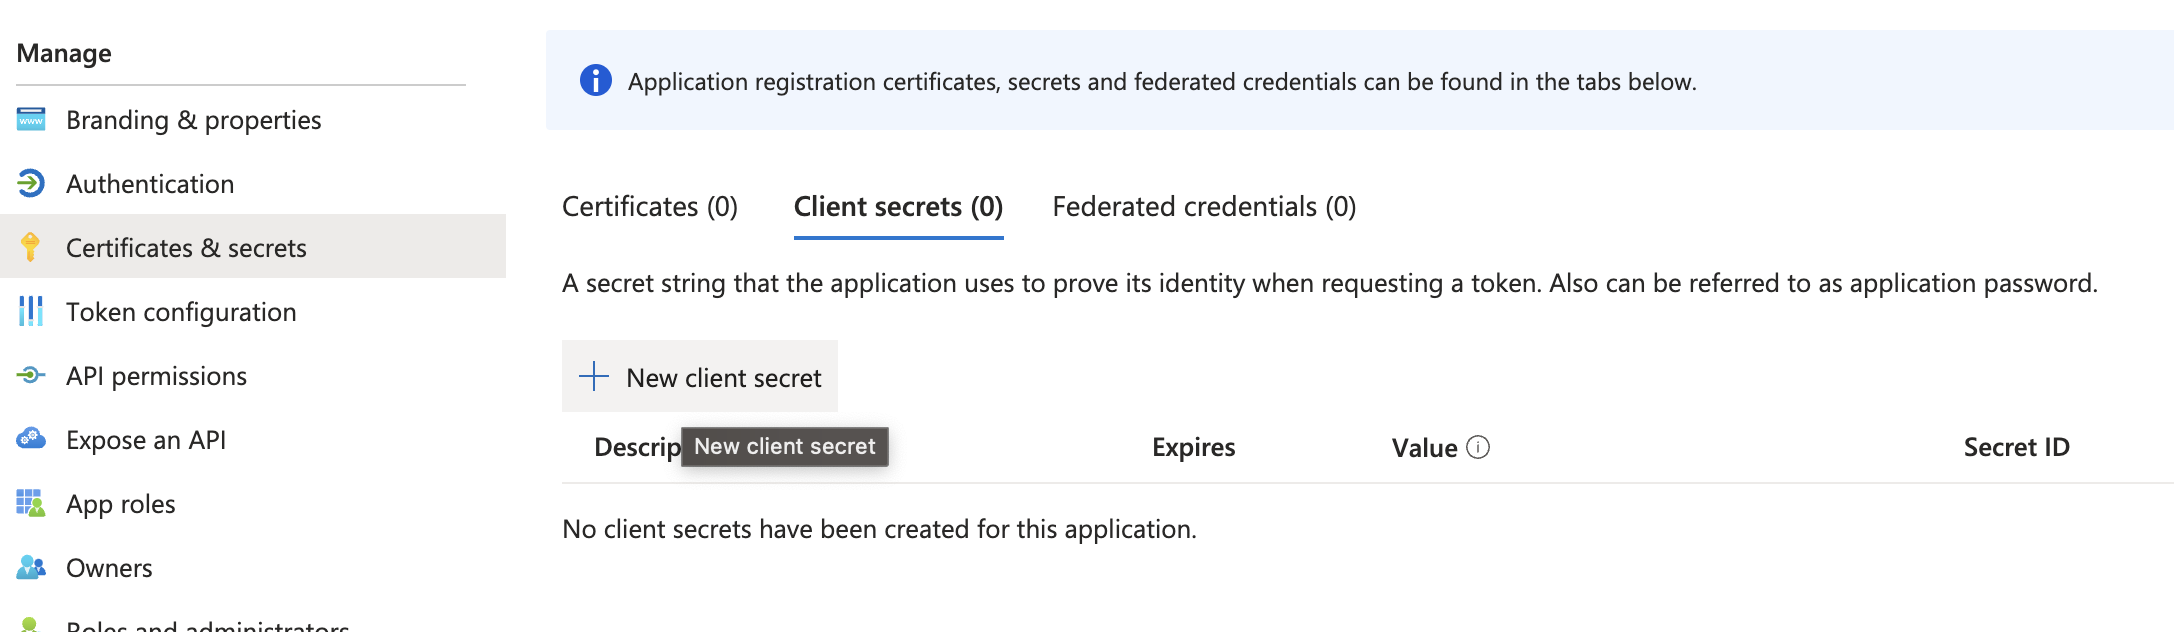 5. Make a note of your secret. We need this information for your fabric.
 6. Configure Application, Workspace, Storage roles to ensure proper access.
Find more information on assigning roles from [Azure's documentation](https://learn.microsoft.com/en-us/azure/synapse-analytics/security/how-to-set-up-access-control).
### Configure connectivity between Synapse and Prophecy
Note that the Prophecy public IP is `3.133.35.237`.
1. Open Prophecy and click **Create Entity** from the left navigation menu. Then, click on the fabric tile.
2. Name your fabric and click **Continue**.
3. Choose **Synapse** as your **Provider**.
6. Configure Application, Workspace, Storage roles to ensure proper access.
Find more information on assigning roles from [Azure's documentation](https://learn.microsoft.com/en-us/azure/synapse-analytics/security/how-to-set-up-access-control).
### Configure connectivity between Synapse and Prophecy
Note that the Prophecy public IP is `3.133.35.237`.
1. Open Prophecy and click **Create Entity** from the left navigation menu. Then, click on the fabric tile.
2. Name your fabric and click **Continue**.
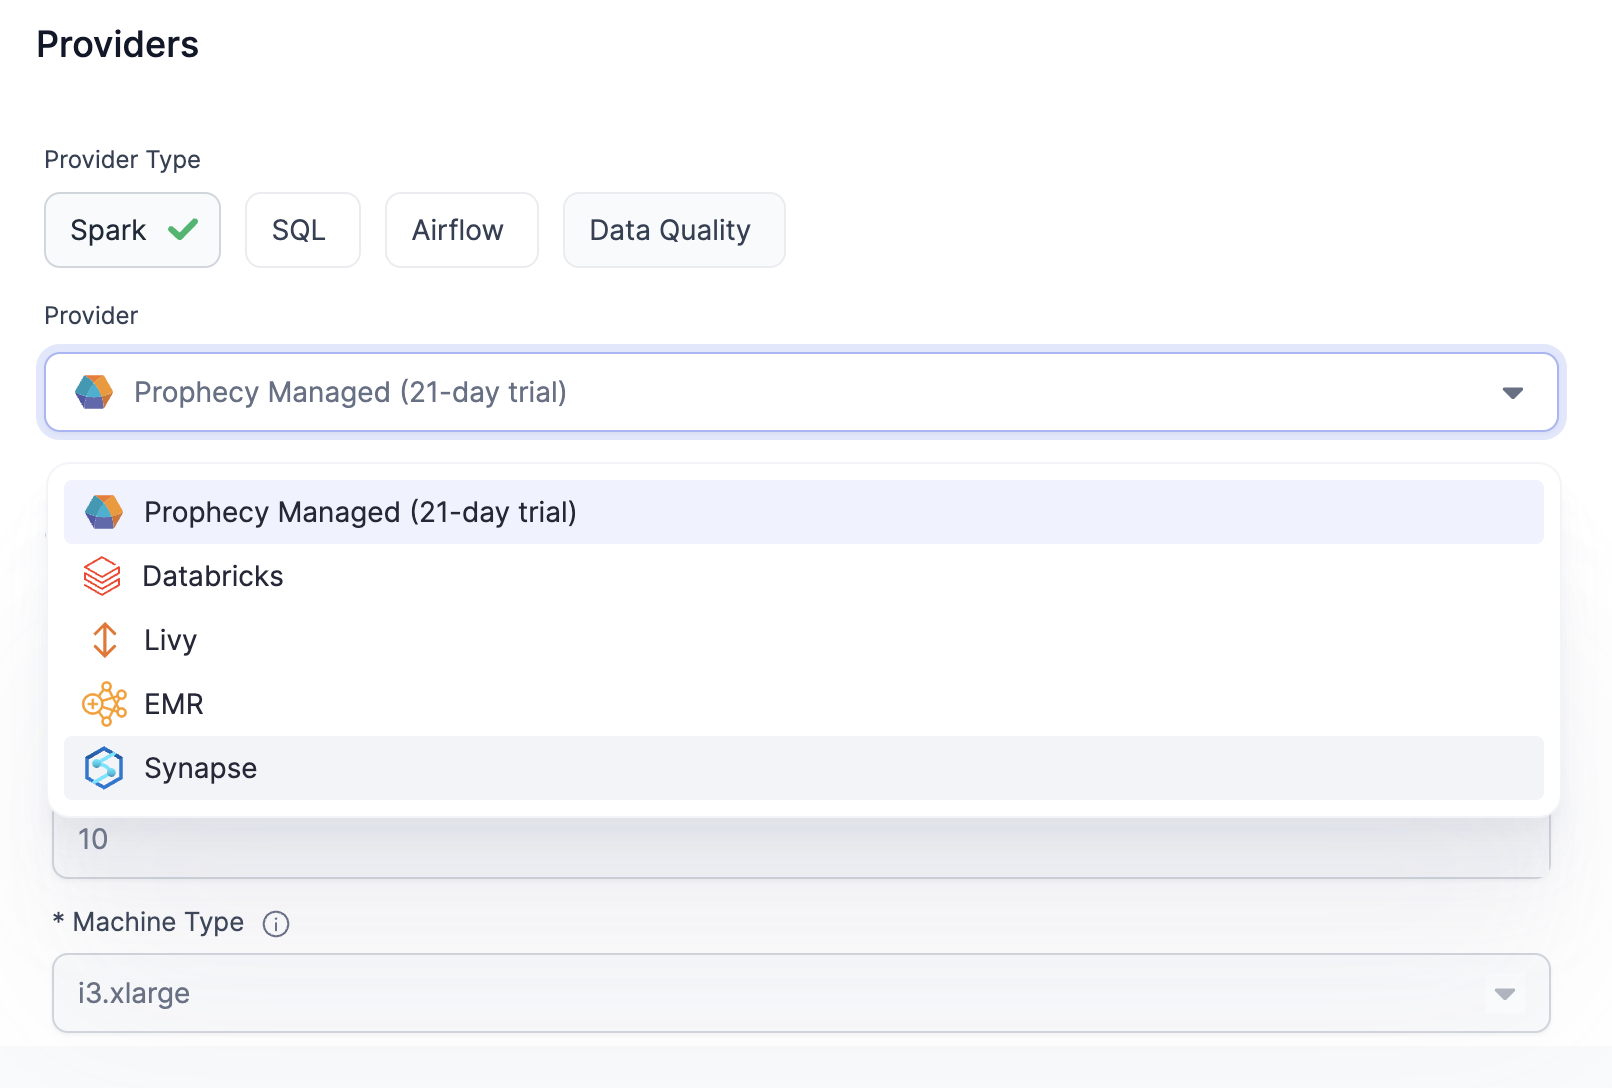
3. Choose **Synapse** as your **Provider**.
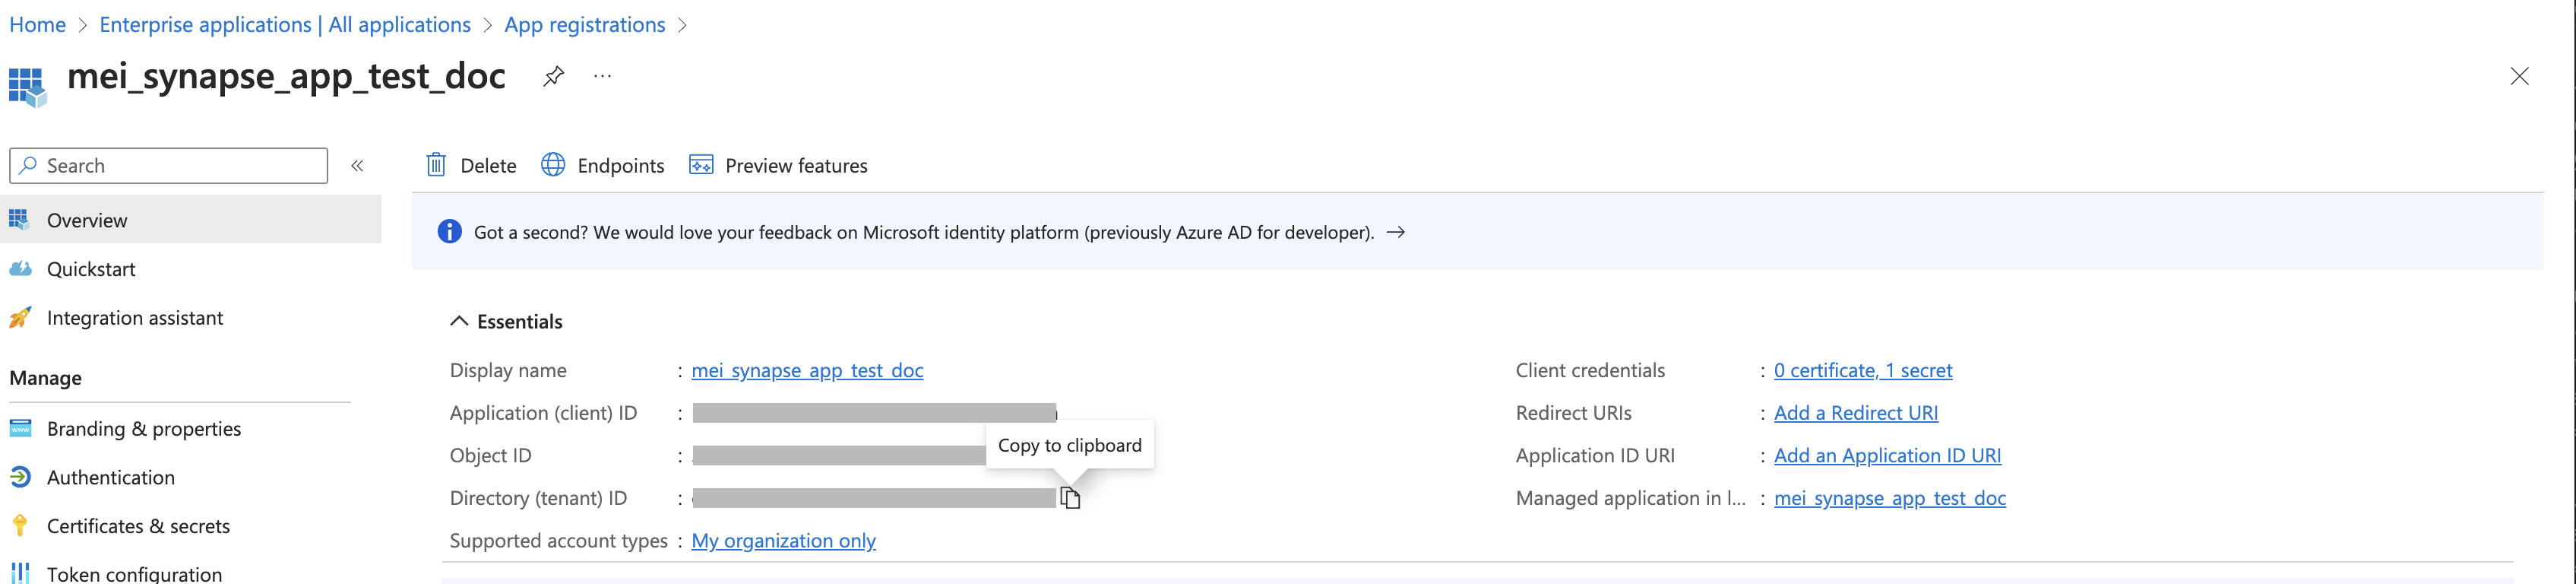
 4. Copy and paste your **Application Client ID**, **Secret Value**, and **Tenant ID** from the App Registration page.
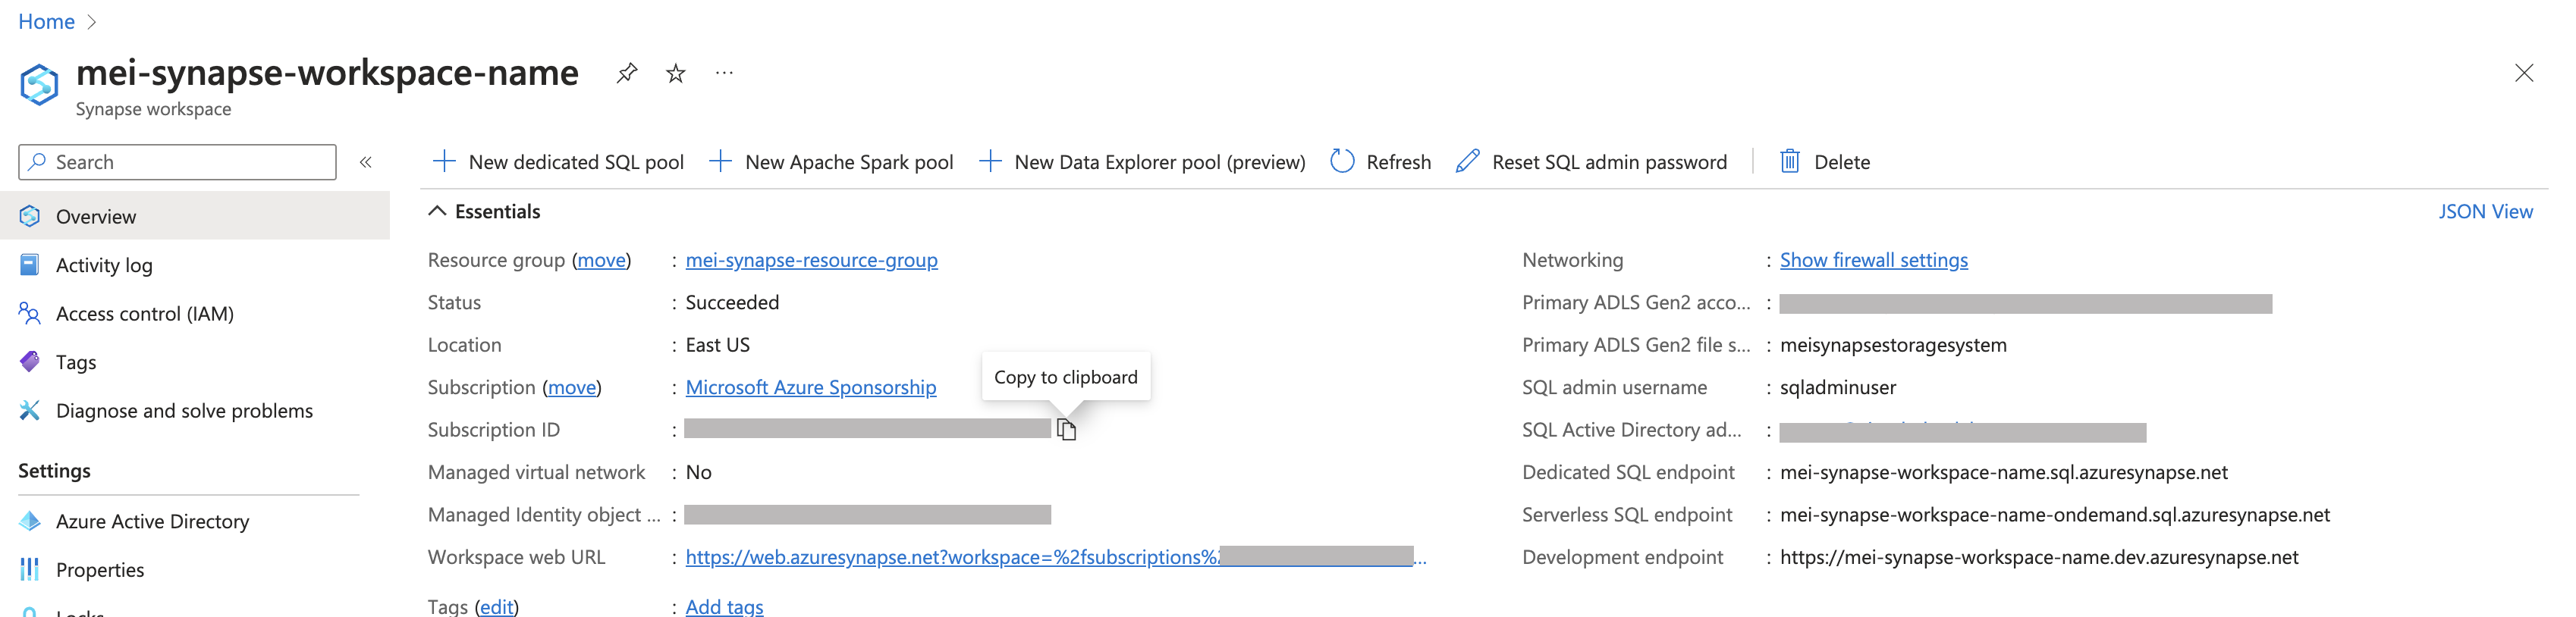
 5. Copy and paste your Synapse **Resource Group Name** and **Subscription ID** from your Synapse workspace.
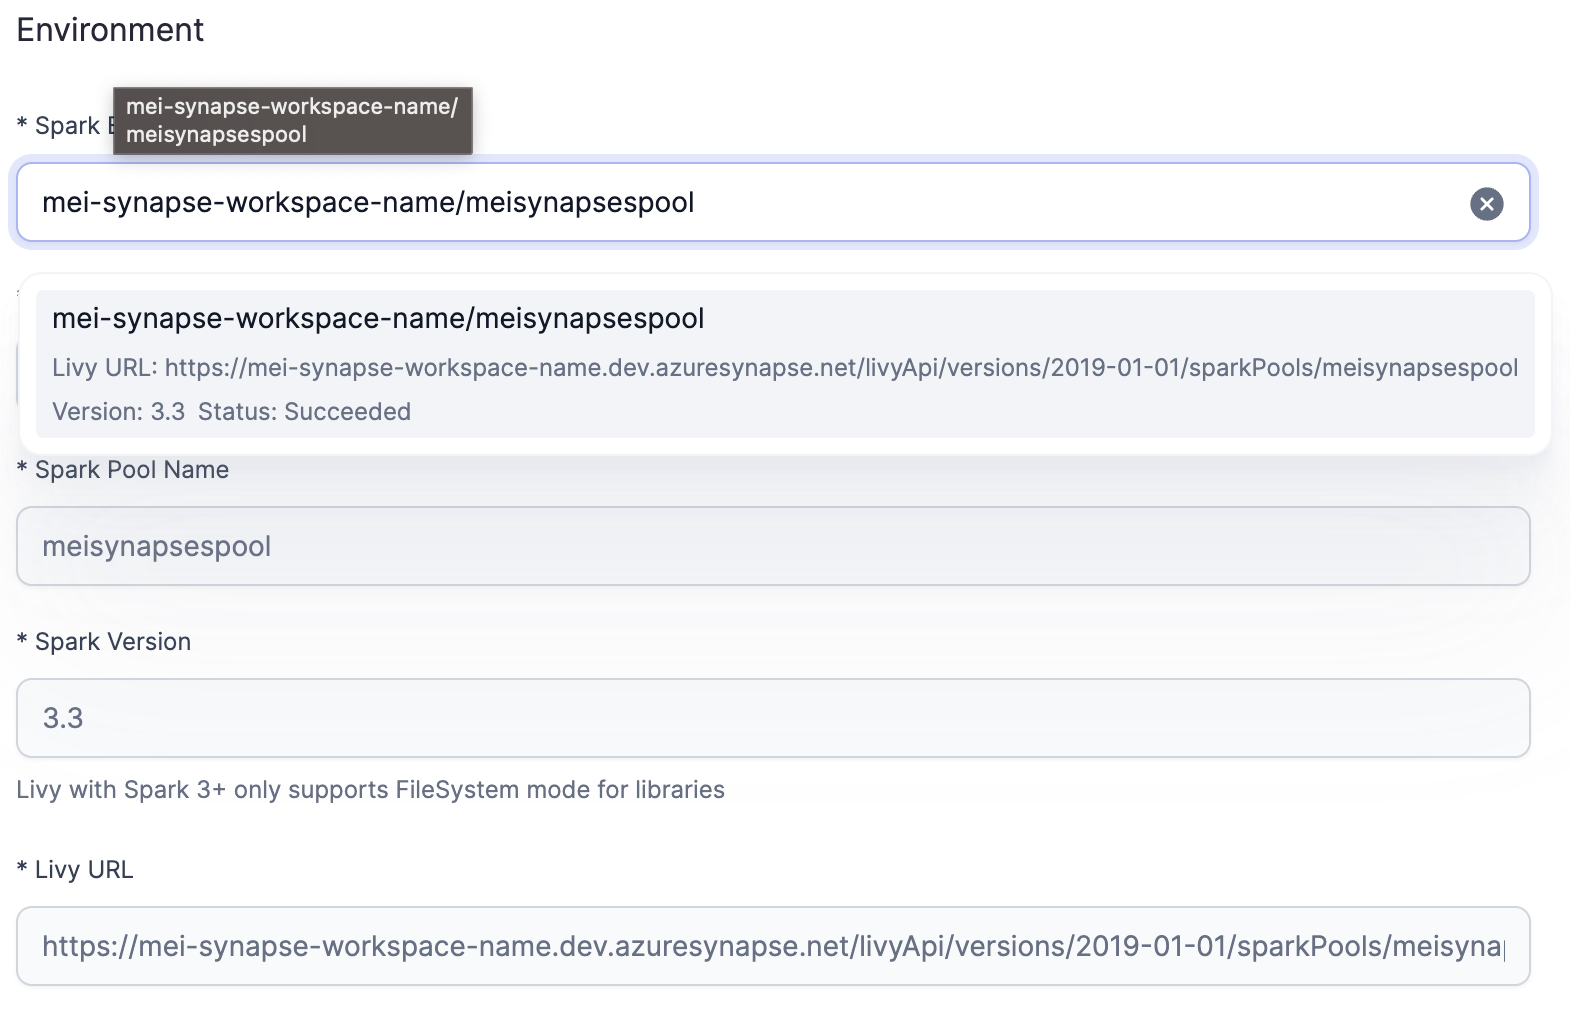
 6. Click on **Fetch environments**.
7. Select your Spark pool from the *Spark environment* dropdown. All other fields should be automatically populated after selecting your Spark Pool.
6. Click on **Fetch environments**.
7. Select your Spark pool from the *Spark environment* dropdown. All other fields should be automatically populated after selecting your Spark Pool.
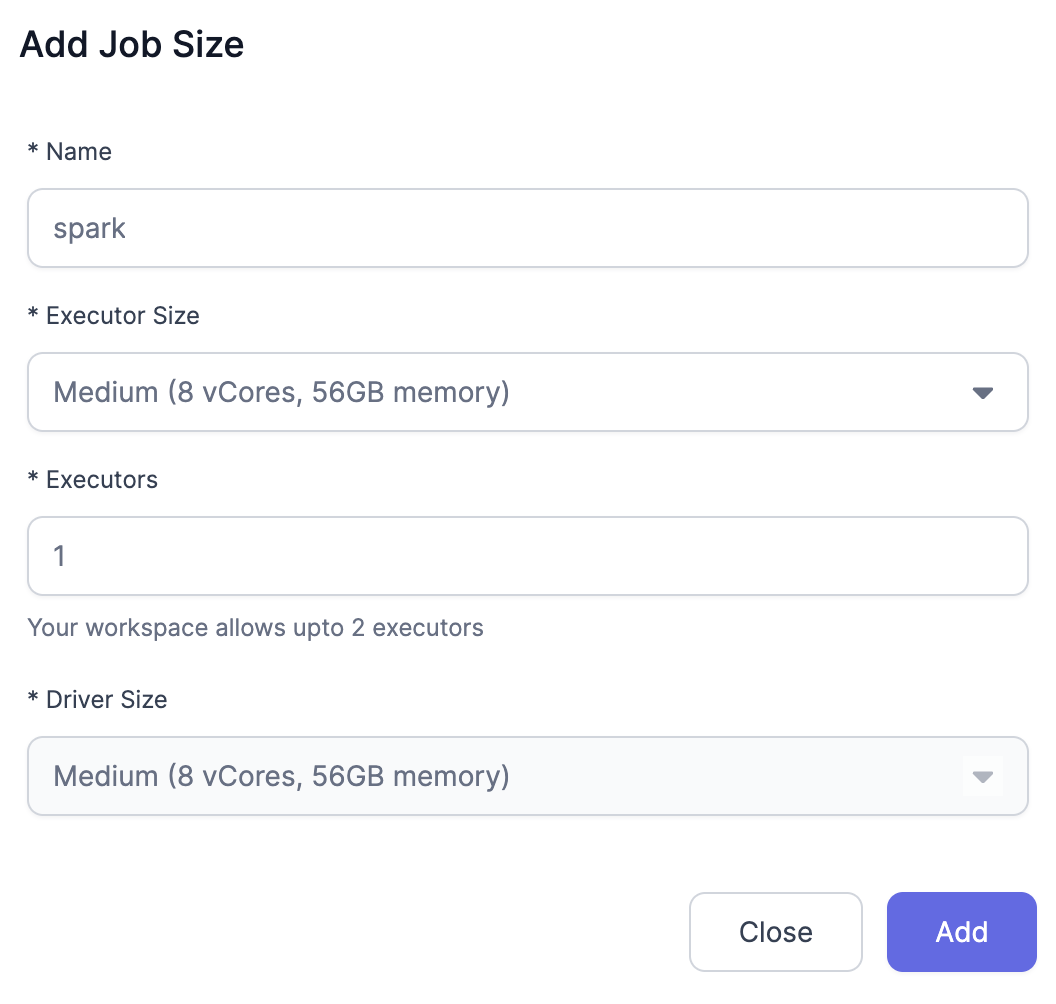
 8. Click on **Add Job Size** and configure the Job size that you would like to use for processing.
 Now we configure the dependencies.
1. Under **Scala** enter the following **Path**:
`https://prophecypublicazure.blob.core.windows.net/prophecy-public-libs/prophecy-scala-libs/`
2. Under **Python** enter the following **Path**:
`https://prophecypublicazure.blob.core.windows.net/prophecy-public-libs/prophecy-python-libs/`
3. Click on **Complete**.
Your fabric for Azure Synapse fabric is configured! Try creating a cluster using the fabric that you've just created and attach to it.
Run a simple pipeline and make sure that the interim returns data properly.
Now we configure the dependencies.
1. Under **Scala** enter the following **Path**:
`https://prophecypublicazure.blob.core.windows.net/prophecy-public-libs/prophecy-scala-libs/`
2. Under **Python** enter the following **Path**:
`https://prophecypublicazure.blob.core.windows.net/prophecy-public-libs/prophecy-python-libs/`
3. Click on **Complete**.
Your fabric for Azure Synapse fabric is configured! Try creating a cluster using the fabric that you've just created and attach to it.
Run a simple pipeline and make sure that the interim returns data properly.