Table tests are based on dbt generic data
tests behind the scenes. When
you add a test definition to a table, Prophecy adds the test as a property of the corresponding
dbt model.
SQL fabrics configured with BigQuery and a CMEK are not compatible with data tests.
Default test definitions
Prophecy includes a set of default test definitions that you can use to get started.| Test definition | Description |
|---|---|
| Unique | Validates that each value within a column is unique. |
| Not null | Validates that a column contains no null values. |
| Accepted values | Validates that column values only include values from a defined set. |
| Relationships | Validates referential integrity by ensuring that each value in a column exists as a corresponding value in another column or model. |
How are test definitions defined?
Test definitions use SQL queries to check your data. The query looks for problems in your data. If the query finds any rows (problems), the test fails. If the query returns no rows (no problems found), the test passes.Understanding test queries
Think of a test query as a question you ask about your data: “Are there any rows that violate this rule?” If the answer is “yes” (rows are returned), the test fails. If the answer is “no” (no rows returned), the test passes. For example:- The
uniquetest asks: “Are there any duplicate values in this column?” If duplicates exist, the query returns those duplicate rows and the test fails. - The
relationshipstest asks: “Are there any values in this column that don’t exist in the related table?” If mismatched values exist, the query returns those rows and the test fails.
Example: Comparing row counts
This exampleequal_rowcount test checks if two models have the same number of rows. It has the following parameters and definition:
| Parameter | Type |
|---|---|
model | table |
compare_model | table |
- The first (
a) counts rows in your model. - The second CTE (
b) counts rows in the comparison model. - The
finalCTE calculates the difference between the two counts. - The final
SELECTreturns rows only when the difference is greater than 0.
Build and run custom tests
In the following sections, we’ll build a test callednot_constant to validate that a column does not have the same value in all rows. Follow the example to learn how to build a test definition and run the test.
1. Add a test definition
To add a test definition, follow these steps:- In the left sidebar, click + Add Entity.
- Hover the Tests option and select Test definitions.
- Assign a name to your test definition, such as
not_constant. - Keep the default path
tests/generic. This is the directory in the project Git repository where Prophecy will store the test definition. - Click Create. The test definition page opens.
2. Define the test query
On the test definition page, configure the following.- Under Description, add a summary of the test.
-
Under Parameters, add the parameters for the test.
- All tests require the default
modelparameter of typetable. - The
not_constanttest requires acolumn_nameparameter of typecolumn(the column to check).
- All tests require the default
-
Under Definition, add the SQL query for the test.

3. Assign the test definition
After you’ve created a test definition, you can assign it to a table or model.- Open the table or model that you want to run the test on.
- Click the Data Tests tab.
- Click + New Test.
- Under Data Test Type, select the test definition you want to add to the gem.
-
Fill in the parameters for the test.
Prophecy automatically sets the value of the
modelparameter to the current table. - Click Create Test.
Advanced settings
Advanced settings
If you want to change the failure condition of a test, you can do so by changing the Advanced settings for that test.
The Advanced settings are generally equivalent to the Data Test gem parameters.
| Setting | Description |
|---|---|
| Filter Condition | When enabled, lets you define a filter expression for what you want your test to run on. Use the dropdown to select an expression. |
| Severity | Determines whether the failure of the test returns an error or warning. Select from the dropdown to set the severity level. |
| Failure Calculation | Expression that calculates a value from the test results. The Error If and Warning If conditions evaluate this calculated value. |
| Error If | Condition that triggers an error. Evaluates the Failure Calculation result. If true and severity is error, the test fails with an error status. |
| Warn If | Condition that triggers a warning. Evaluates the Failure Calculation result. If true, the test returns a warning status (regardless of severity setting). |
| Store Failures | When enabled, stores all records that failed the test. The records are saved in a new table with schema dbt_test__audit in your database. The table is named after the name of the model and data test. Make sure you have write permission to create a new table in your data warehouse. |
| Set max no of failures | When enabled, sets the maximum number of failures returned by a test query. You can set the limit to save resources and time by having the test stop its query as soon as it encounters a certain number of failed rows. |
4. Run data tests
Now that you’ve configured the tests, you can run them.- Click Run all to execute all the defined tests. Alternatively, run individual tests by clicking the play button on the test’s row.
- Once the tests finish running, you’ll see the relevant test result next to each test definition.
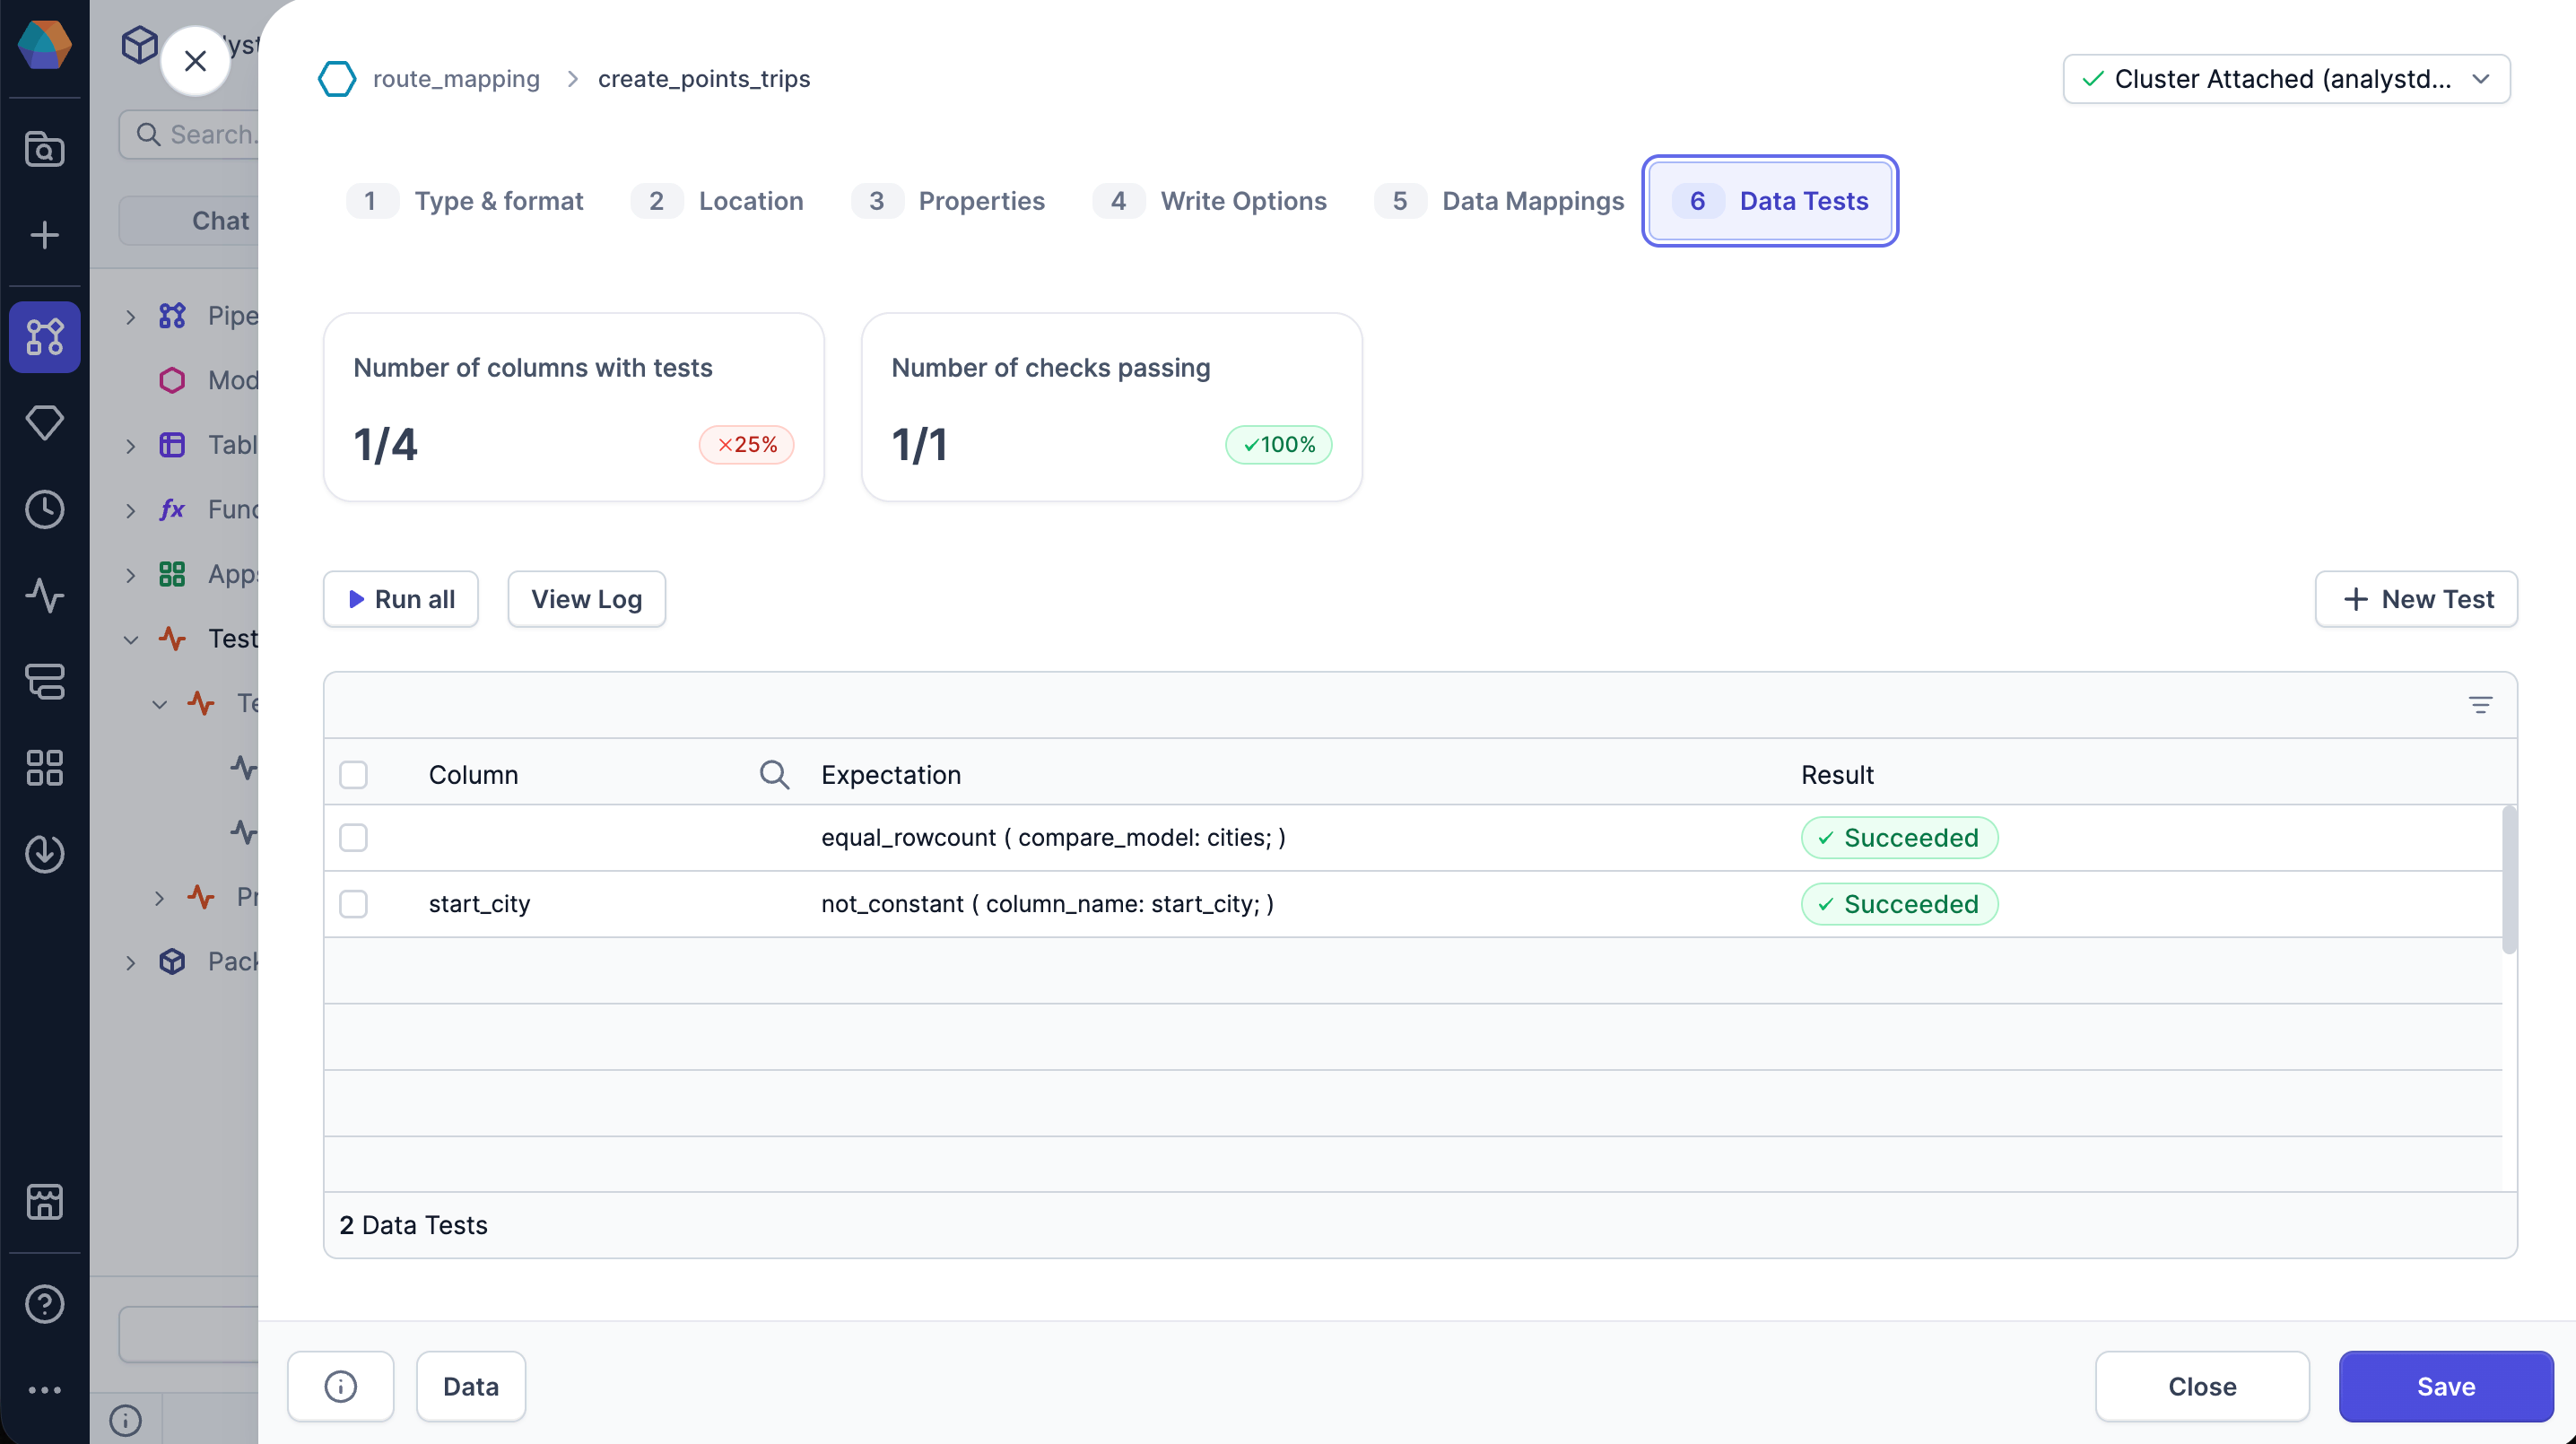
Click View Log to view the test logs. You’ll only be able to view the log of the most recent
test run. You can copy or download the logs if needed.
5. Schedule test runs
When you schedule a pipeline, you can enable tests associated with Tables gems in the pipeline to run during that schedule.- Open a pipeline containing tests to schedule.
- In the project header, click … > Schedule.
- Edit the existing schedule or configure a new schedule.
- Enable the Run data quality tests toggle.
- Click Confirm to save the changes.
Schedule test runs (Models ONLY)
Schedule test runs (Models ONLY)
Pipeline schedules differ from model schedules. Use the following steps if you are using scheduling models only.
- In the left sidebar of the project, click + Add Entity.
- Click Job. This opens the Create Job dialog.
- Enter a name for your job and click Create New.
- Drag a Model gem to your visual canvas.
- Click the model to open the model properties.
- Select the database object you want to run the test on.
- Select the Run tests checkbox in the left sidebar of the model gem.
- Ensure that your project, model, and fabric are correct.
- Click Save.