

Skills are an iterative artifact. The structure described here reflects patterns that work well in practice, but there is no single correct form. Expect to revise a skill as you learn how the Agent interprets it and how users actually phrase their requests. You can also use the Agent to generate or refine skills.
What a skill is
A skill is a named set of instructions the Agent loads when a user request matches its description. Skills conform to the Agent Skills open specification, which defines a portable, interoperable format for agent instructions. In Prophecy, skills live atskills/<skill-name>/SKILL.md in your project.
Once created, skills appear in your project alongside other project entities. In Prophecy for Business, you can find them in the Project Browser; in Professional Edition, they appear in the Browse Project panel on the right side of the workspace.
How the agent loads skills
The Agent reads the name and description of every installed skill on every chat. It only loads the full skill content when it determines the skill is relevant to the current task. This means:- You can maintain many skills without degrading agent output.
- The description is doing active routing work, not just documentation.
- A vague description means the skill may never load, or may load at the wrong time.
Add a skill
- Prophecy for Business
- Professional Edition
Add a single skill
-
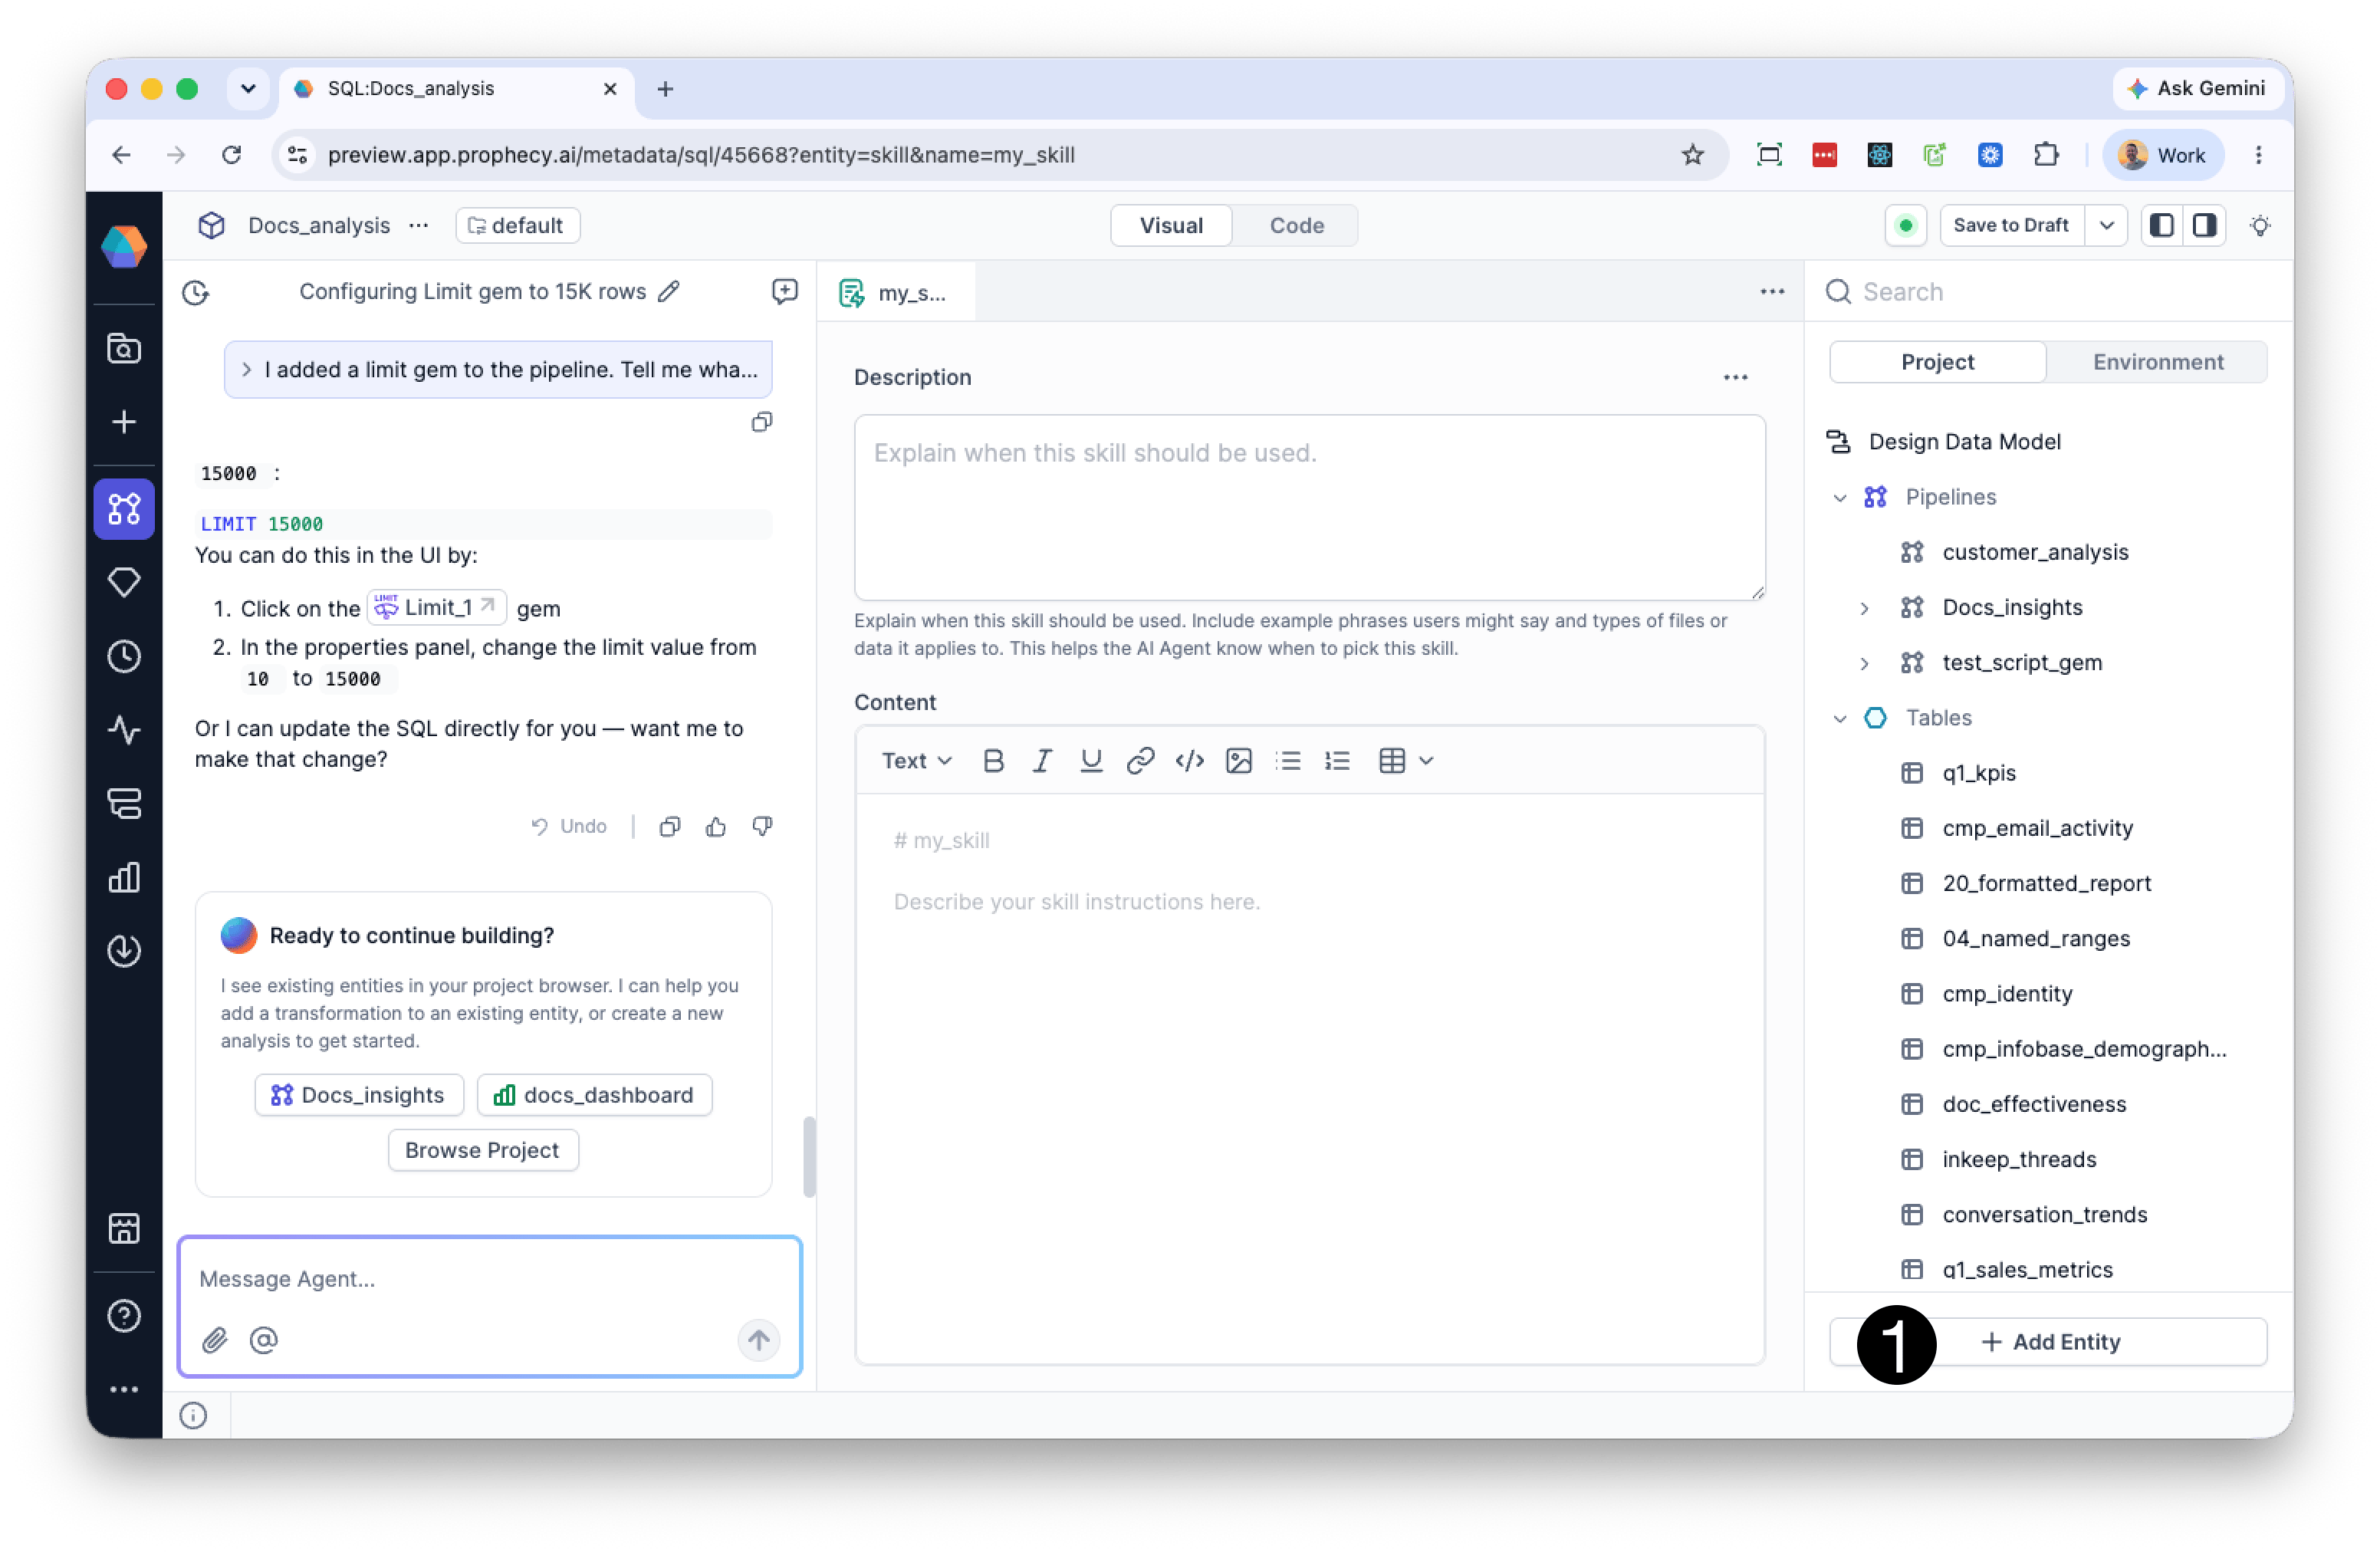
From the bottom of the Project Explorer, select Add entity > Skill.
-
In the Add Skill dialog, enter a skill name. By default the skill is created in the
/skillsfolder. - Click Create. The skill editor opens.
-
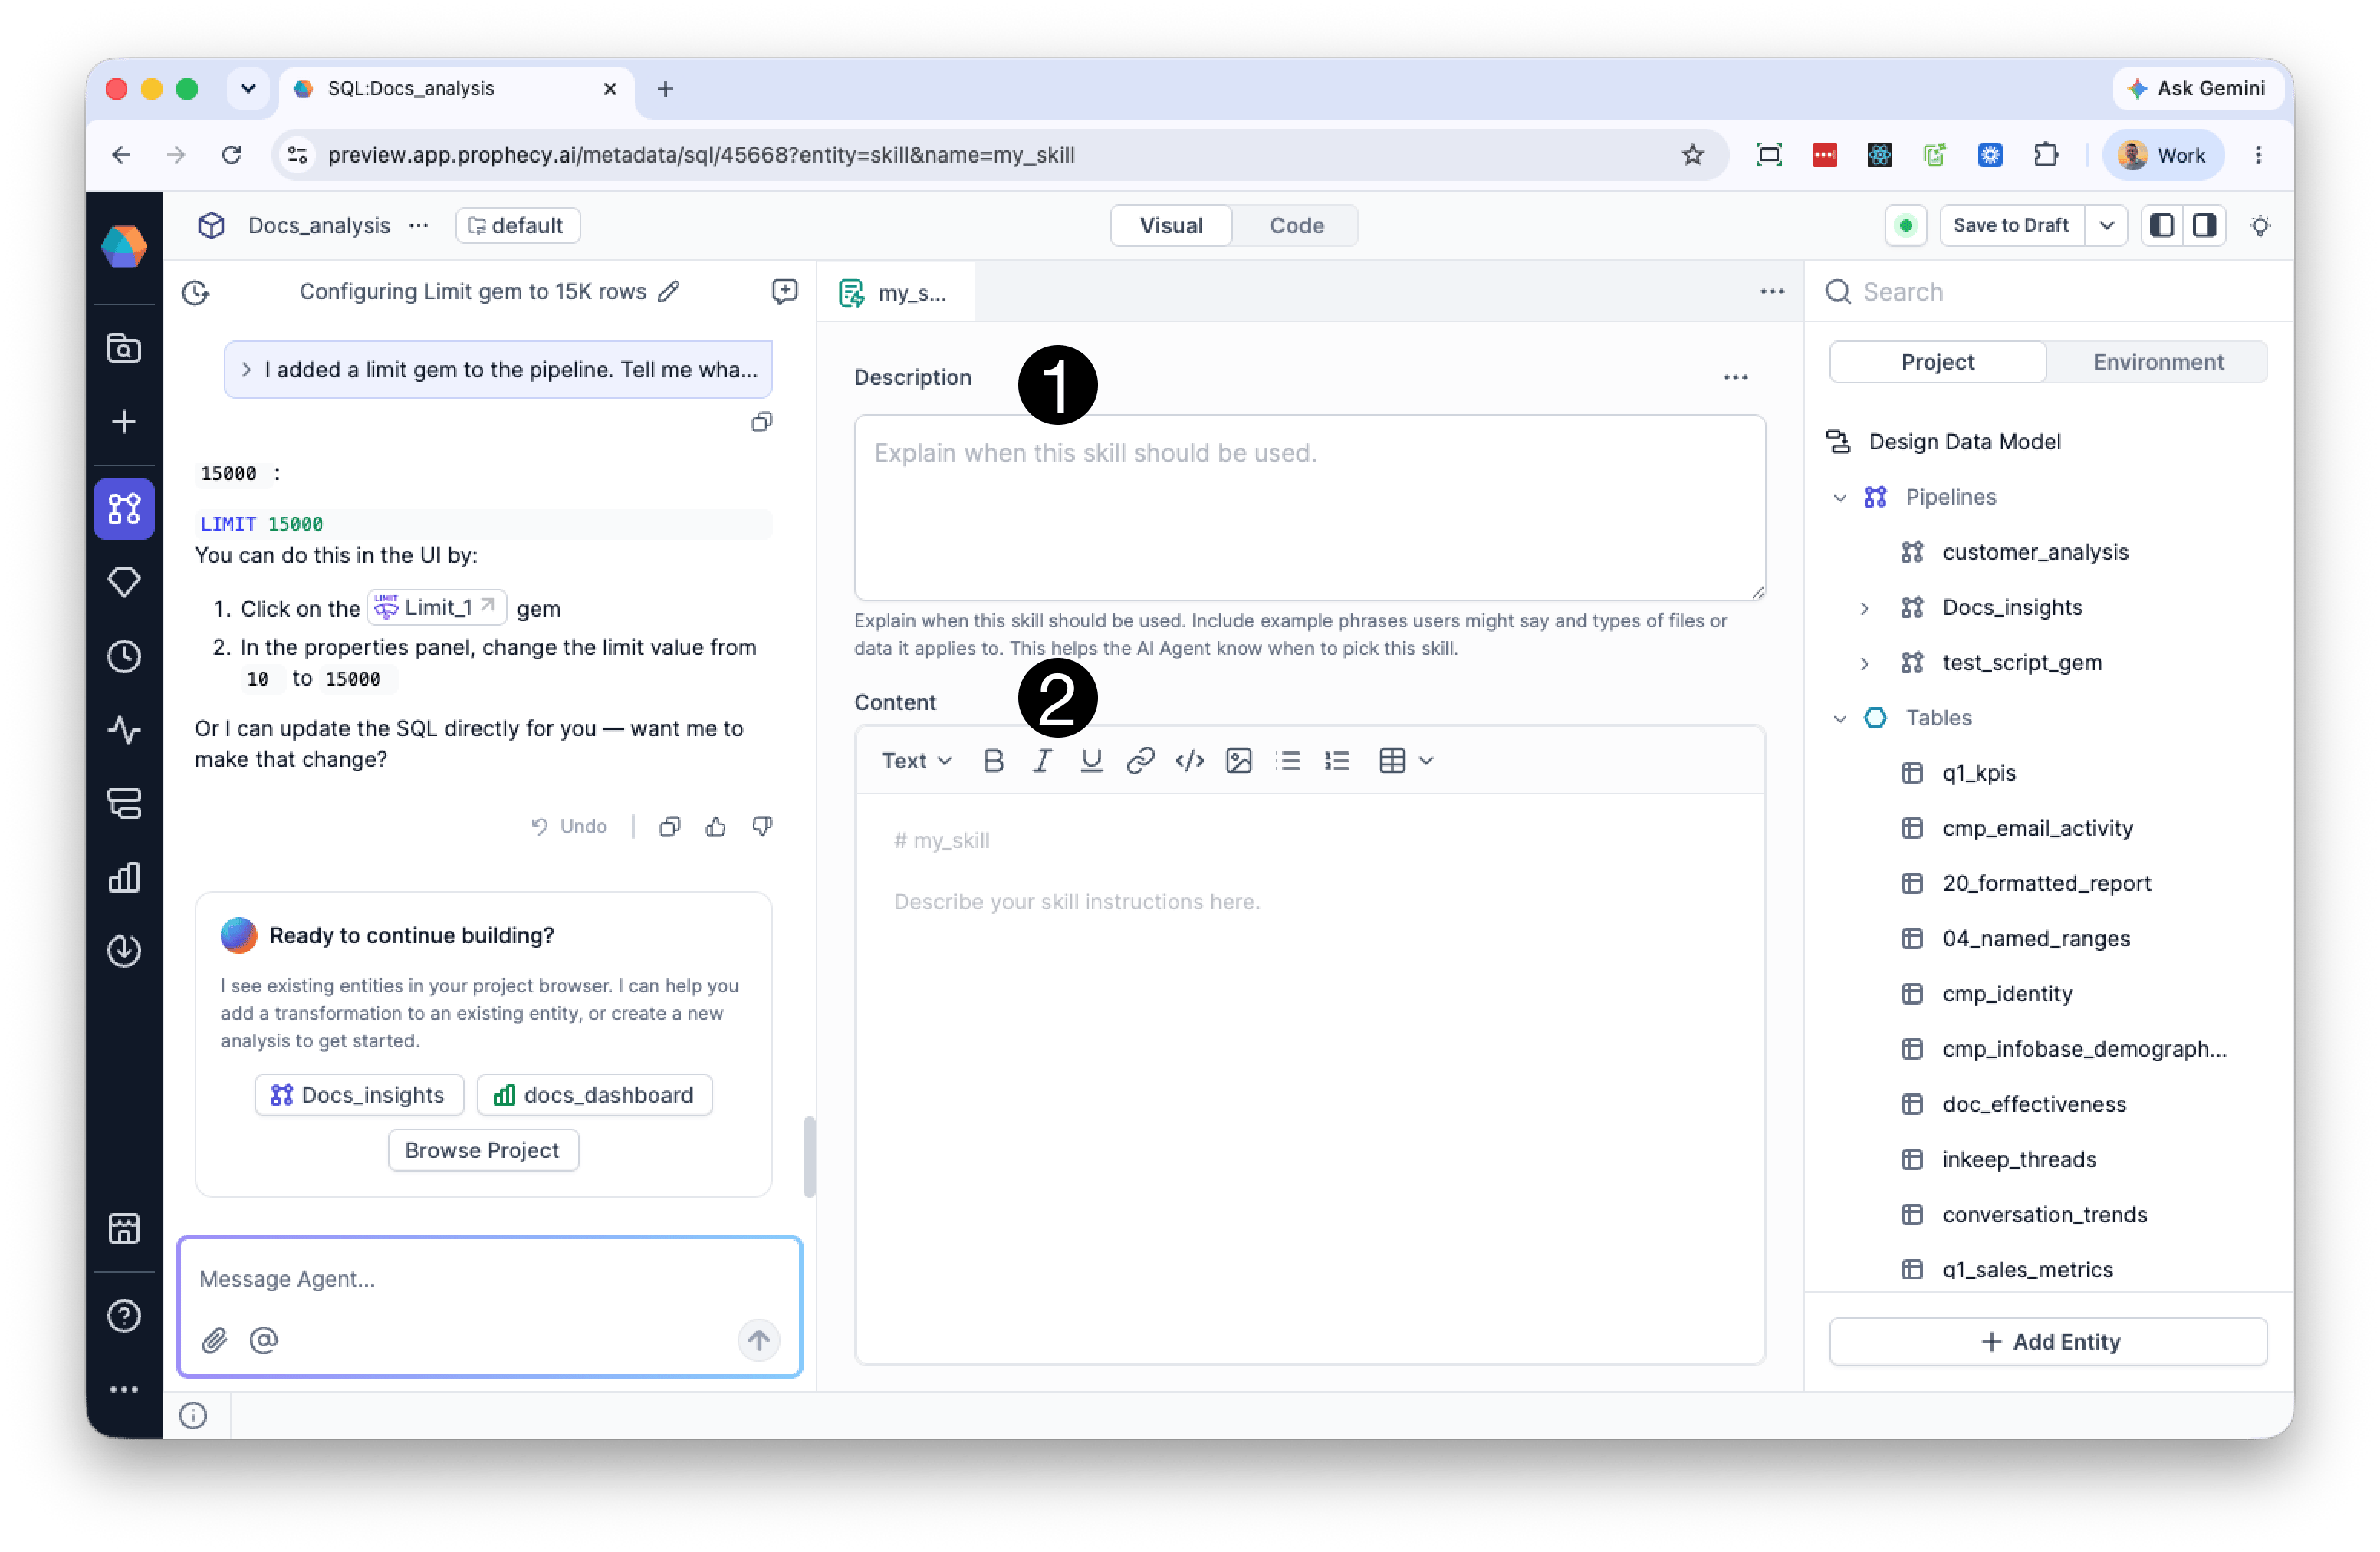
Enter a description (1) and content (2). Changes save automatically.
Install skills from a zip file
You can bulk-install a set of skills by uploading a zip file directly to the Agent.- In the Agent chat, attach your zip file using Attach or by dragging it into the chat.
- Enter the prompt:
Install the skills in this zip. - The Agent installs all skills it finds and confirms which were added. Installed skills appear in the
/skillsdirectory in your project.
/strats or /validation.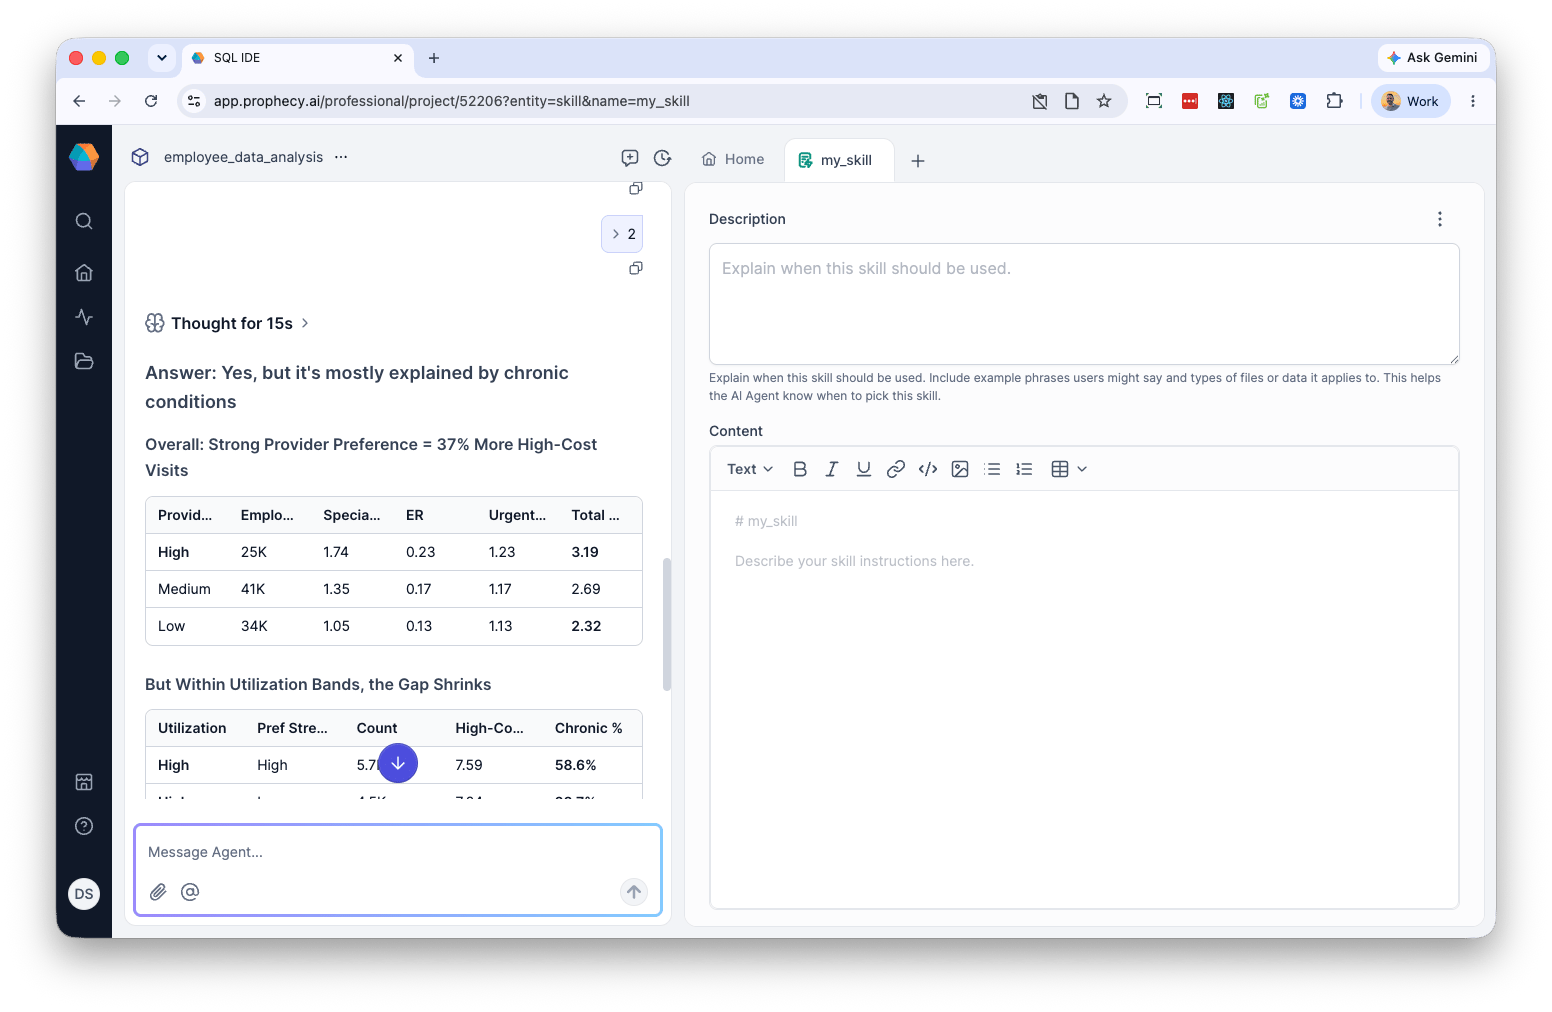
Skill description and content
When the skill editor opens, you enter a description and content.Description
The description is the routing signal the Agent uses to decide when to load this skill. Start with “Use when…” and be as concrete as possible. Include the user intent it targets, specific trigger phrases in quotes, any file types or contextual signals that should activate it, and where relevant, what the skill does not cover. A vague description gives the Agent little to work with:Helps with data mapping.A scoped description tells it exactly when to act:
Use when the user wants to map a raw data tape to the CDM. Triggers include: ‘crack this tape’, ‘map to CDM’, ‘harmonize tape’. Does not handle pipeline execution or output formatting.
Content
Here, you enter the instructions the Agent follows once the skill loads. Often, a content block starts with a one-line statement of purpose and scope: what the skill does and, where useful, what it explicitly does not do. From there, organize content around the operations the Agent needs to perform. Each operation defines a trigger condition (what the user said or did), a sequence of steps, and any output format or response pattern the Agent should follow. Operations can also specify constraints: things the Agent should not do at this stage, particularly when a skill is one step in a larger workflow and scope boundaries matter. Some patterns that appear frequently in practice:- Prerequisites — a “Before anything else” section directing the Agent to read a shared config or capabilities file before acting.
- Tunable parameters — numeric thresholds documented explicitly so users know what to adjust, and so the Agent can offer to expose them as pipeline variables rather than hardcoding values.
- Scope boundaries — a “What this skill does NOT do” section at the end, especially when the skill sits alongside related skills that handle adjacent tasks.
- Handoff patterns — explicit routing instructions telling the Agent which other skill to invoke when the user’s request moves out of this skill’s scope.
Skill body content stays in context for the entire session once loaded. Keep it concise — every line is a recurring token cost. Move large reference material to supporting files in the same skill directory and link to them from
SKILL.md.Use Agent to improve skill
The Agent can make changes to skills once they are in the Prophecy environment. After adding skills using the steps above, you can use the following prompts to improve Prophecy skills:1. Start with discovery
“Look at [skill name] skill. How can I improve this so that it works better for Prophecy?”This triggers an analysis of the skill’s current state and generates specific recommendations before the Agent makes changes.
2. Request data integration
“Make this skill use actual data from the workspace instead of just asking questions”Here, you ask the agent to tune the skill so that it queries tables before conversing.
3. Add pipeline generation
“Update the skill to offer creating pipelines when appropriate”In Prophecy, skills become more useful when they can build artifacts such as pipelines and analyses.
4. Connect to existing work
“Make this skill integrate with the [pipeline name] pipeline I already have”Links new skills to existing pipelines for richer, context-aware behavior.
Pattern that works well
Key transformation questions
- From advice → data-driven: “Make it search for relevant data before asking questions”
- From text → artifacts: “Have it offer to create pipelines and dashboards”
- From generic → integrated: “Connect it to existing pipelines like [name]”
- From one-shot → workflow: “Add steps for discovery, analysis, then artifact creation”